
Start with a company or a person
Accounts hold the company context for your work. Contacts are the people you research and reach out to. This context helps you interpret signals and complete tasks with a clear understanding of who to contact, why they may care, and what your team has already done.
Open Find accounts when you are building a target market or choosing companies to work. Open Find contacts when you know the roles you want to reach, either across companies or within a specific account.
Records, enrichment, CRM fields, and available filters depend on your organization's connected data and permissions. Search results do not guarantee that every person has an email address, phone number, or complete activity history.
Bring in contacts from Sales Navigator
Already have an audience in LinkedIn Sales Navigator? Use LinkedIn imports to bring a lead search or saved lead list into Athean and review the resulting contacts.
Sales Navigator supplies the audience. Your connected enrichment providers can help match people and add contact details. CRM import is a separate step. ZoomInfo is one of the data enrichment vendors your organization can bring to Athean.
Follow Import contacts for the full workflow, including account matching and checking CRM results.
Explore an account
- Open an account from search results or a list.
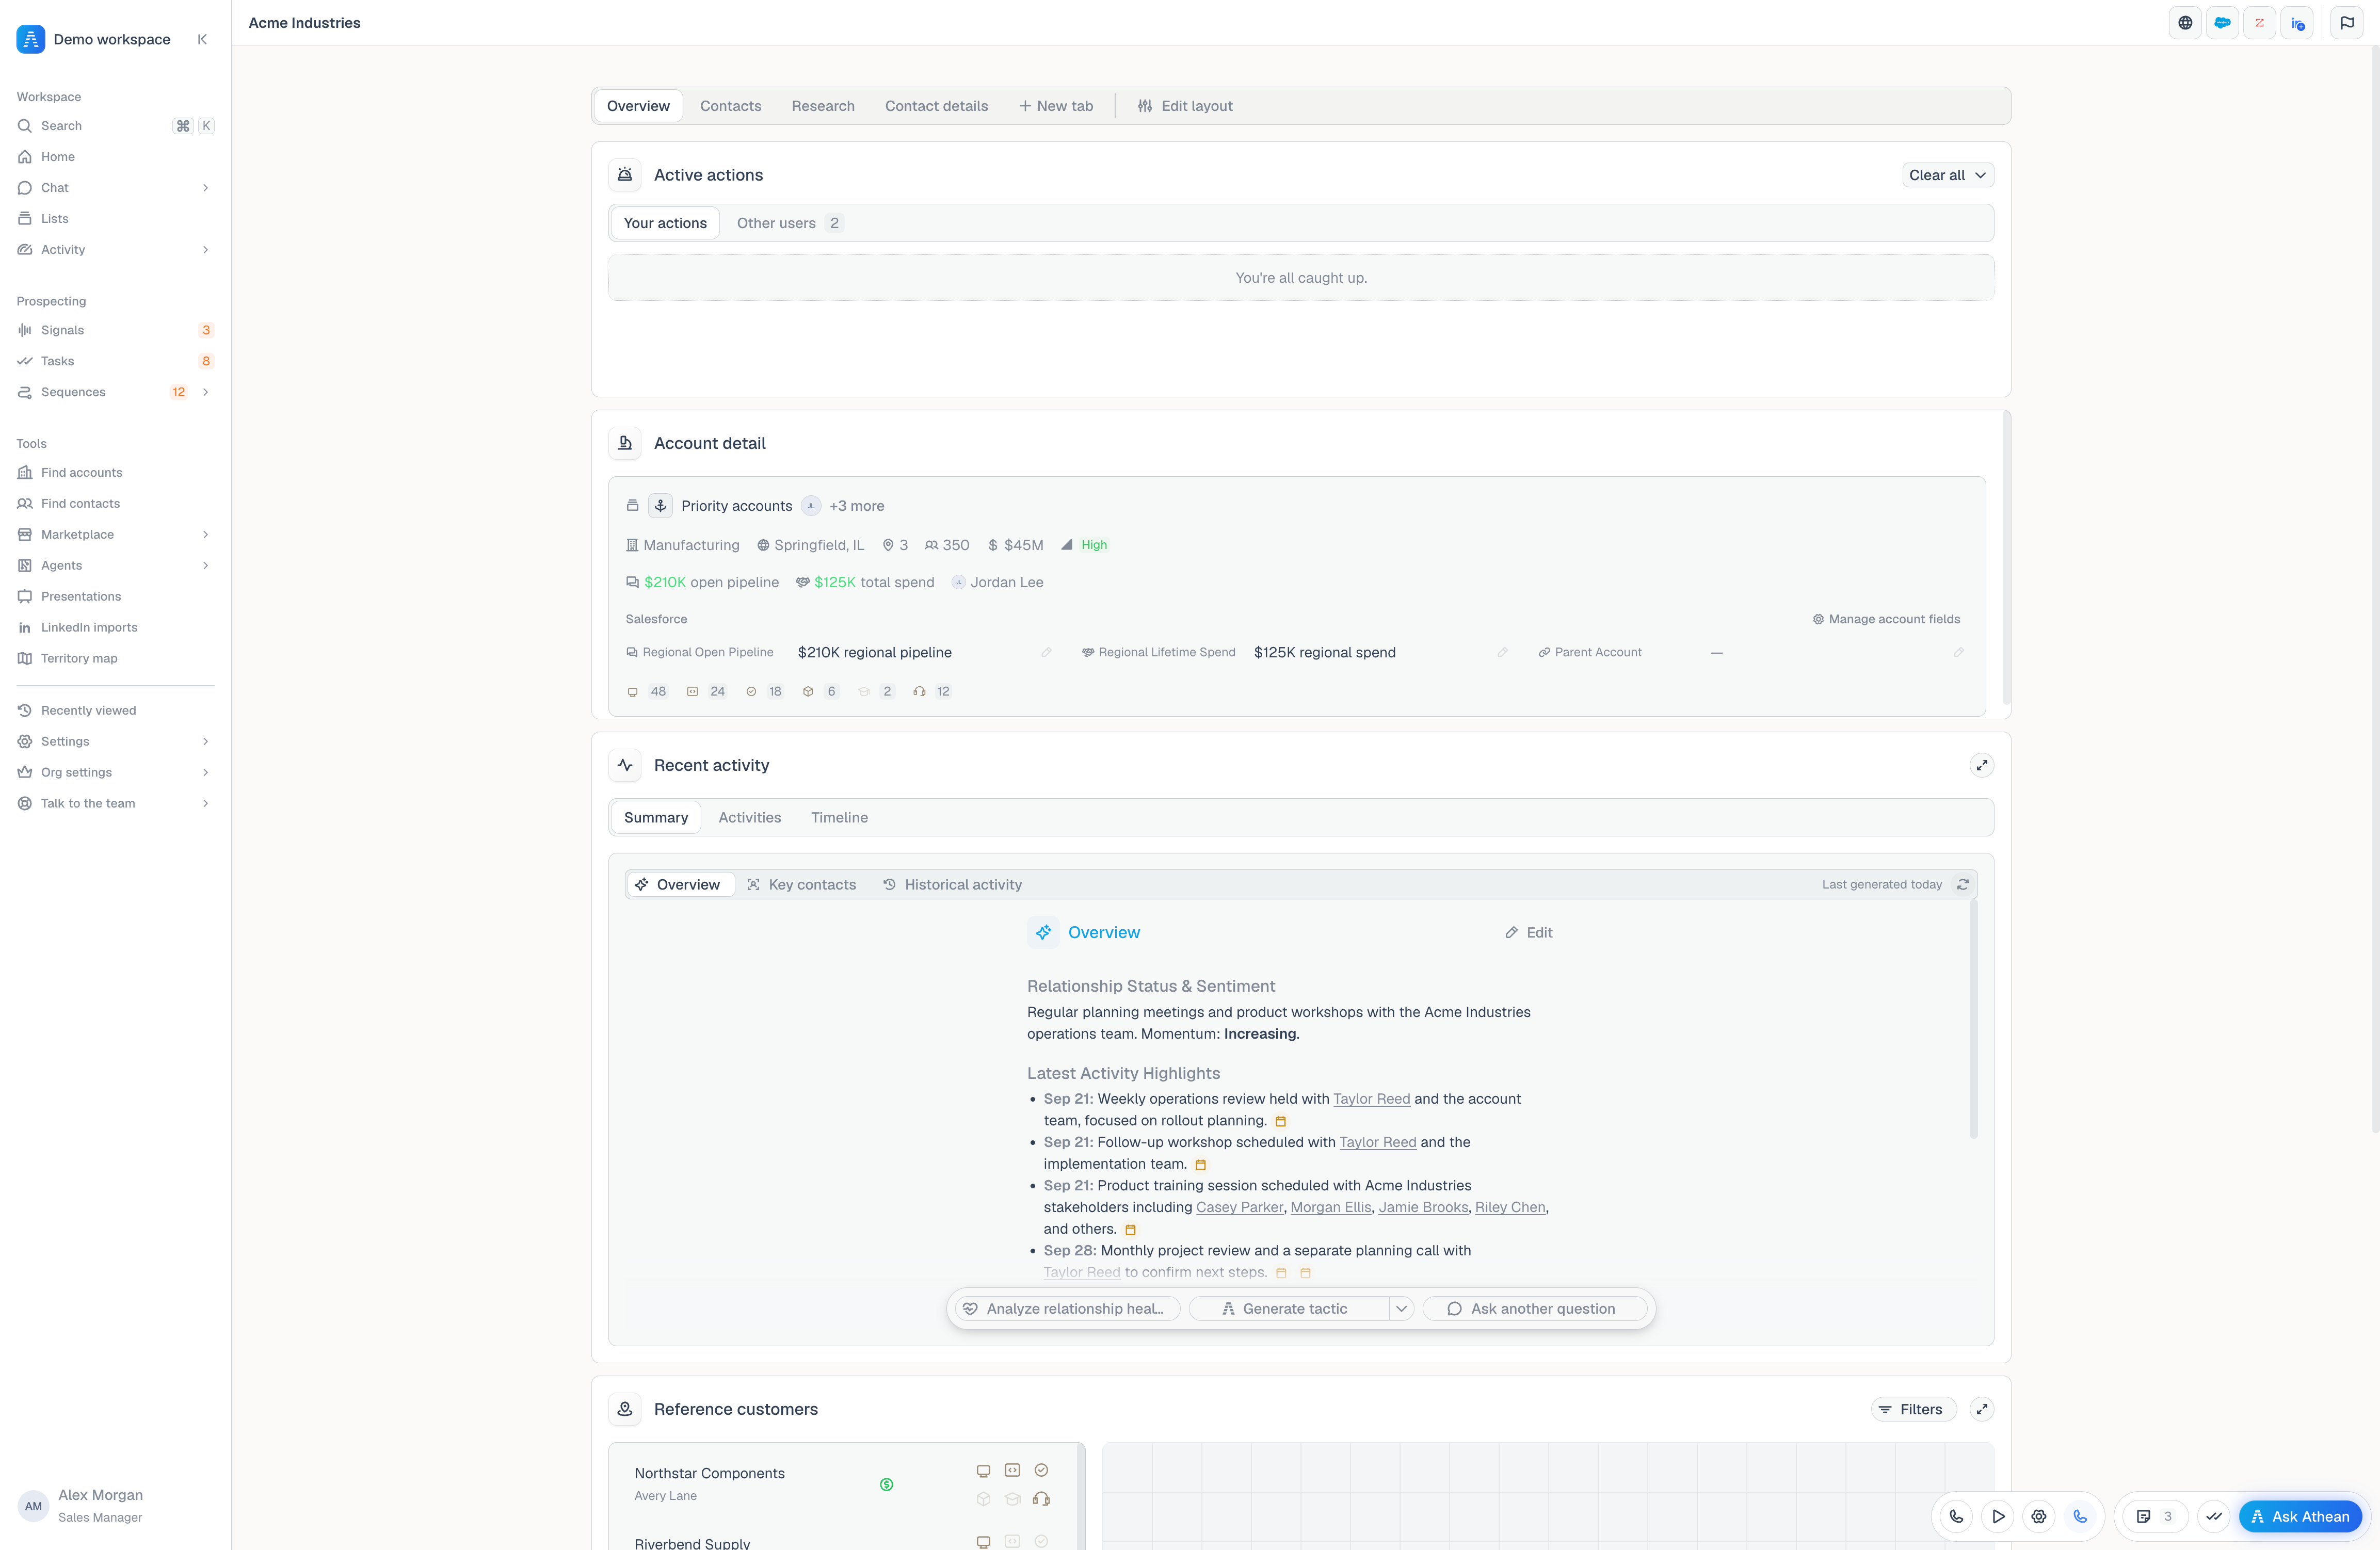
- Use Overview to review company details, action items, and recent activity. Check what is already happening before planning outreach.
- Open Contacts to explore people associated with the account. Narrow the directory to the roles that matter to your workflow.
- Open Research to review available account research reports. Select an account research agent and use Run now when you need a report, or Regenerate to request fresh research.
These are the default account tabs. Your organization or personal layout may arrange them differently. Account research agents produce reports on an account; recurring workflows are managed in the separate Agents section.
Review a contact
Select a contact row to open their details. Review their name, job title, company, and available contact information. Check previous activity before deciding how to approach them.
The default Contact details account tab brings the selected contact's information, activity, notes, tasks, and first sequence step together. Use Edit where available to correct contact information you can verify. Enrichment and CRM actions appear according to your organization's integrations.
When information is missing, check the contact's account and any connected source before assuming a field is unavailable everywhere. Respect the contact's opt-out state when choosing an outreach channel.
View account and contact Salesforce live fields
Salesforce live fields bring your connected CRM's fields into the account or contact you are working on. Your organization chooses the fields, labels, order, and editing access through Account field sets and Contact field sets in Layout configuration.
- Account fields: open the account and find its Salesforce section or block. These fields belong to the linked Salesforce Account.
- Contact fields: select the person and find Salesforce in their details. The fields apply to that person's linked Salesforce Contact or Lead.
The section's location depends on your account layout, and your assigned field set can differ from a teammate's. The account or contact must be linked to a Salesforce record before these fields can load.
Administrators can follow Configure Salesforce live fields to choose the fields and their audience. CRM sync mappings separately control supported record and activity sync.
Edit and save Salesforce live fields
- Check that you have opened the correct account or contact, then use the field's edit control in its Salesforce section.
- Enter a value or choose from the options offered for that field. Finish the field edit to stage the change.
- Review the change pending count and the values you have edited. Use a field's Revert control to undo that pending edit, or Discard to clear the section's pending changes.
- Select Save to Salesforce. Wait for saving to finish and check the returned values and any error message.
Save to Salesforce updates the linked Salesforce record. Staging a field edit does not save it to the CRM. Finish or discard pending changes before switching records or reloading the page.
If Athean detects that a field changed while you were editing, review the conflict message. Discard conflicting changes removes the affected edits so you can continue with the others. If your field configuration or editing access changed, follow the message to discard the older draft, review the current fields, and make your edits again.
Check missing, read-only, or outdated values
- No fields appear: check the Salesforce connection, the record's Salesforce link, and the field set assigned to you. An empty section does not establish that the Salesforce record has no data.
- A field is read-only: its field-set setting, your editing permissions, or Salesforce's field details can prevent editing. Read the explanation on the edit control, then ask your administrator to check Layout configuration.
- Fields could not load: use Retry when offered. If field access cannot be resolved, wait for it to recover before editing.
- A value looks outdated: finish or discard your pending edits, then reload the record and check it again. A displayed value is not a guarantee that it includes every subsequent change made in Salesforce.
- Salesforce rejects a save: read the message, correct the value or required information, and save again. If Salesforce cannot be reached, check the current value before retrying an uncertain save.
For a persistent problem, contact support with the account or contact, field name, and displayed message.
Choose your next step
Add promising records to a list to work on them together. Save a useful set of filters as a view so you can repeat the search. When you have enough context, choose a sequence or a specific next task.
For your first pass, work with a small set of accounts and contacts. Confirm that your targeting, available contact details, and outreach steps match your intended audience before expanding the workflow.